- Set up a Webhook to catch job results automatically.
- Use a GET Request to fetch those results.
- Test it all to make sure it works smoothly.
Setting Up a Webhook
First things first, let’s set up a webhook that will trigger when your Captain Data job is complete. Here’s how:- Choose the “Catch Hook” event in Zapier. This event will wait for the job data and trigger automatically when your job is done. No manual checking required! ✨
- Go to the Test tab in Zapier. You’ll find a Webhook URL—copy that and paste it into your Captain Data workflow webhook configuration.
Creating a GET Request
Now, let’s set up the GET request in Zapier to retrieve those results:The Job UID can be found in the output from the webhook step. Make sure to
select the correct value in the GET request step. This is crucial for fetching
the right data!
- You’ll find this information in the API Playground of your Captain Data workflow.
- Basic Auth can stay empty. But Headers need to be filled in like this:
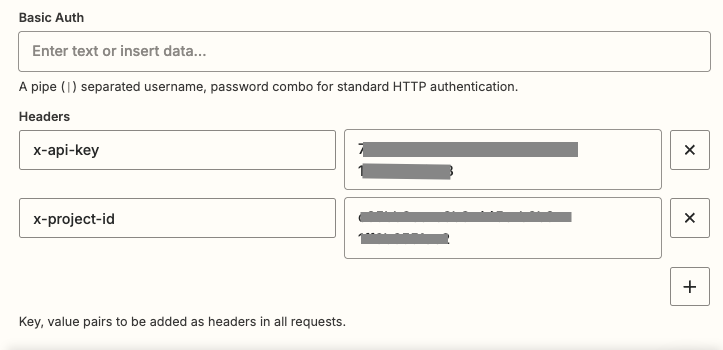
Zapier Basic Auth
Testing Your Setup
Ready to test it out? 🚀- Head over to the Test tab in Zapier. If everything’s set up correctly, you’ll see the results from your Captain Data job right there! 🎉
- Now, you can send those results to your favorite apps—like your CRM, Google Sheets, or any other service you use to manage your data. 🌟

Zapier Preview Test